Soil Building Systems, Maintaining Soil Structures, Composting and Mulching at Spice Chasm's Farms
Many customers and visitors of our farms have asked the same question: How do you get thing to grow so readily without the use of chemicals? Simple answer is: Our job is 80% growing soil, not the plants per se. If the soil, conditions and environment are suitable and healthy for a given species, it will grow exceptionally well without many problems. The remaining 20% is mostly maintenance and dealing with various pests and diseases that sometimes spike. Essentially, in our opinion, soil is the most important aspect of a farm, whether people are growing organically like us, or using more industrial methods. Soil health is essential. | ||
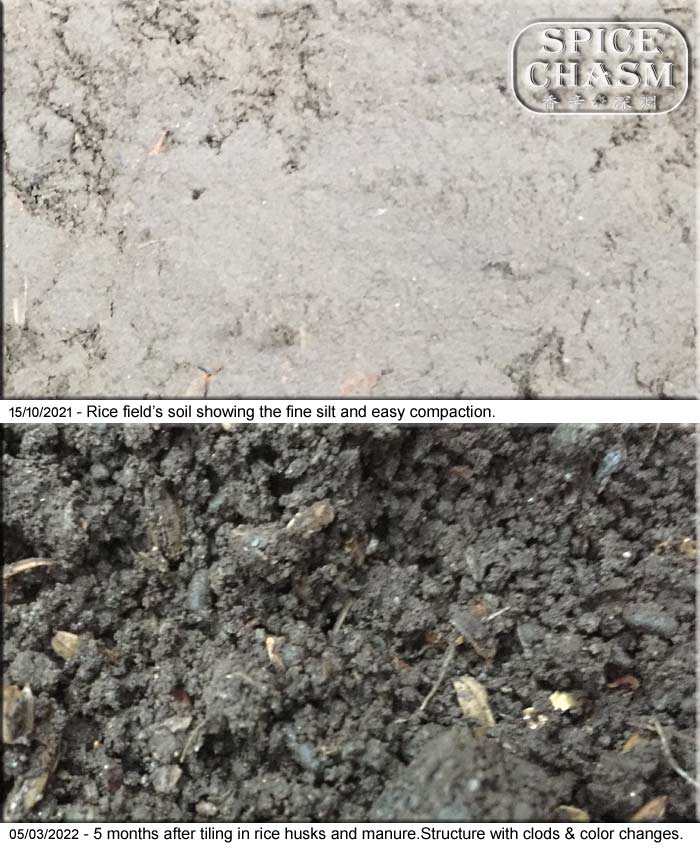
Soil StructureSoil structure is arguably as important as soil nutrients available to the plants. Soils that are made up of fine silt tend to compact very easily and have poor water and nutrient penetration. Soils with excessive sand and rock tend to not be able to hold moisture and nutrients as well. Many plants have their preferences when it comes to PH, EC, nutrition levels, moisture content etc. In general, for the majority of our crops we are aiming to make a clay type soil loose and high in organic manner. When organic material is available under the soil, as it decomposes it creates little channels, pockets etc that allow other organisms to travel through them more conveniently. Essentially like little roadways. This will open up for future loosening of the soil as there will be an explosion of both micro and macro organisms that are now moving around in the soil and essentially turning it very slowly on a small scale, though constantly. |
 | |
How We Transform New Farms’ SoilMany times when we take over a new farm, the land has been damaged to varying degrees. Most commonly via over tilling causing sever compaction. erosion and lack of biology in the soil are also common issues leaving the soil very poor in both structure (compact and often silty) and fertility. In order to remedy these situations, we must first tackle soil structure. Adding nutrition is not very effective if the soils structure allows it to readily wash away. In this basic framework, we do the following for farms that are either silty and compact (such as old rice fields) or very sandy soils. | ||
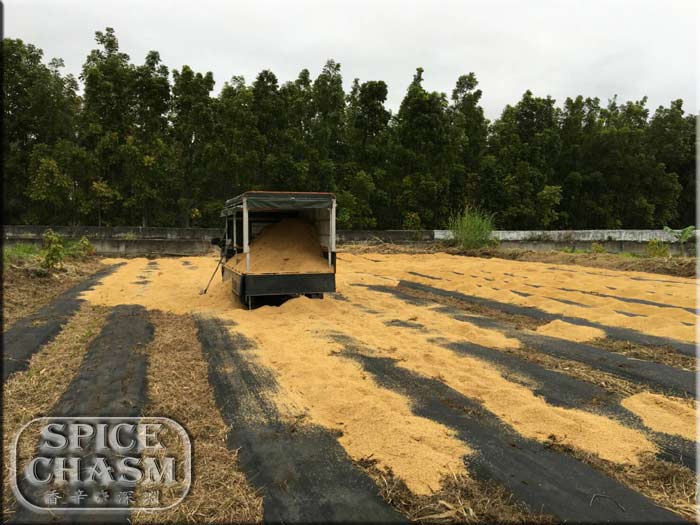
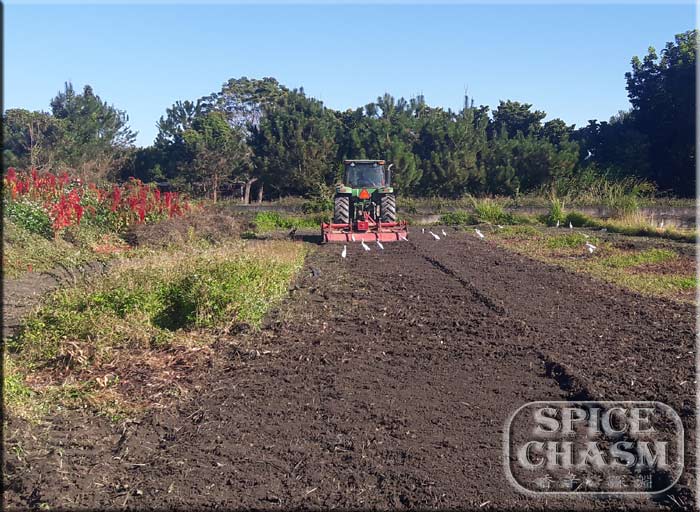
1. Till in Organic MatterGenerally speaking, we practice a no till method on most of our farms. The exception is in the beginning when we want to get organic material deeper into the soil. Depending on soil makeup (usually as simple as clay vs sandy) we will layer varying amounts of coarse organic material on the surface of the field after cutting weeds. With leaves and smaller sticks decomposing fast, we also add more wood chips at this stage. Adding thicker pieces of wood (1-5cm) deeper in the soil will allow more air flow and easier penetration of animal and fungal biota once it has decomposed. These larger pieces of wood material do indeed take away nitrogen in the soil in the beginning, which will be given back once decomposed. Although there is a loss of nitrogen it will add extremely good texture and structure to a deeper layer of the soil, which will return benefits greatly underappreciated in the years to come. With feeder roots normally being nearer the surface, this is of minimal consequence anyway as we will be adding a more nutrient rich surface afterwards for the plants to associate with. |
 Tilling in wood chips, manure, compost and weeds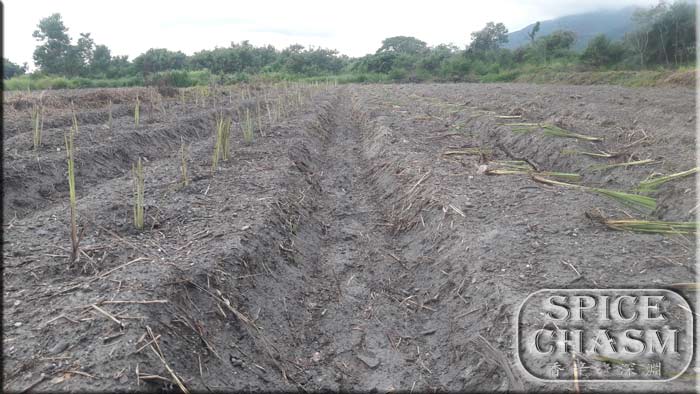 Note the organic material under the soil protruding from the sides of the rows | |
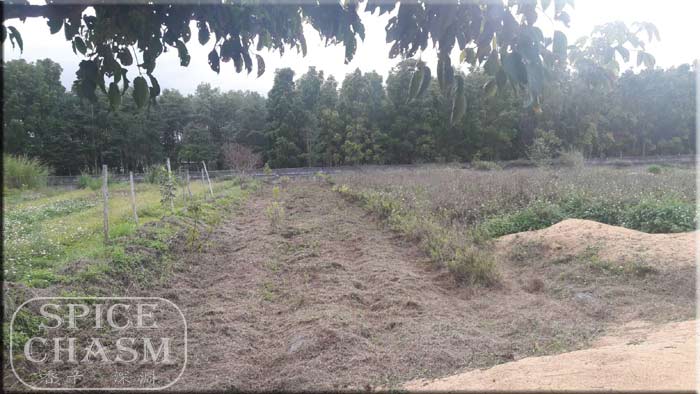
2. Spread a Nitrogen Rich Material & CompostOnce ploughed, depending on the crop, we add a generous layer of compost and sometimes a composted manure on the surface before applying mulch. this will give a nice boost to new transplants before the roots get deeper into the tilled into compost. |
 | |
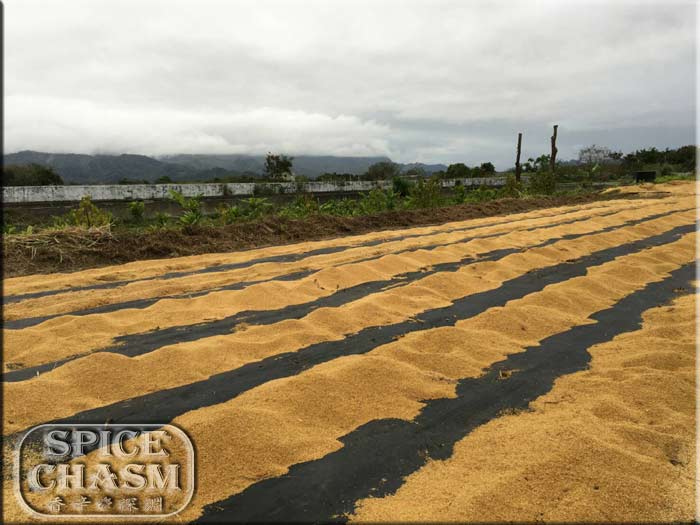
3. Cover Soil with MulchWe use 3 types of mulch depending on crop. Plastic mulch, which is a black plastic agricultural weave that lasts about 10 years. We use this to cover rows, especially on new fields. Once weeds have been tamed, and if we have enough, we change out the plastic mulch for compost which is more or less free of weeds. Compost mulches tend to last a year before more needing to be added for more nutrition. Compost as a mulch is idea as it acts as a weed suppressant and a fertilizer whilst having amazing water permeability and great structure for root penetration. Rice hulls and wood chips we will use between raised rows that use the agriculture fabric. This is good for suppressing weeds and will last about 2 years before needing to top up. It decomposes and adds nutrition as well as hosting many beneficial fungi and small animals. We avoid having it as a mulch in open fields next to plants as they will leech nitrogen. |
| |
How We Make Compost | ||
 Digging out the topsoil of the compost field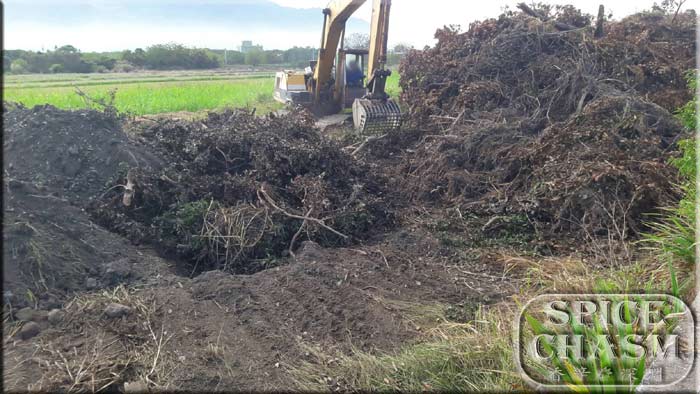 Filling the dugout area with wood, sticks, roots, leaves etc.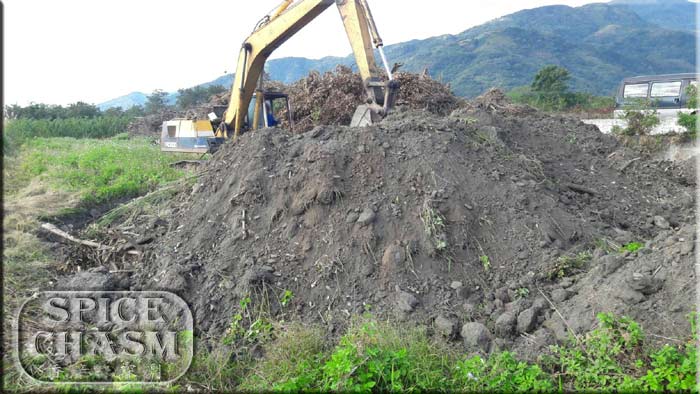 Burying the wood with loose topsoil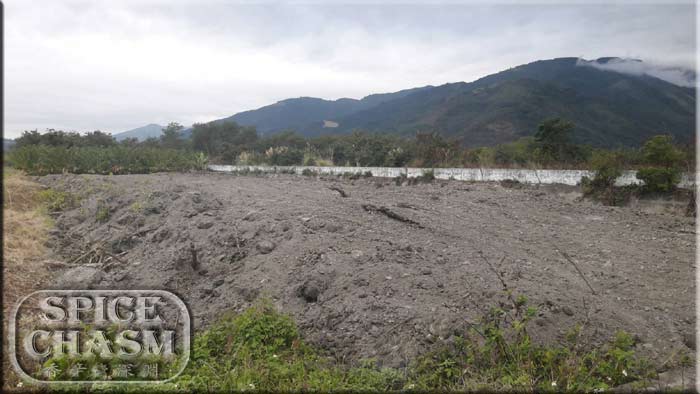 Flattened field after everything has been buried |
1. Fungal Composts for Blending into SoilFor our main compost production we use wood as the main base. We use these composts to till into new fields or lay thick layers down right after the first till to suppress weeds and provide a good quality layer for seedlings and transplants. Because this type of compost tends to take years, even here in the tropics, and large pieces of wood may still not be fully broken down, we don’t use this type of compost as a top layer in running fields to avoid large debris being on or near the surface. See number 2 for our finished compost for adding to fields in production. Depending on wood size and species, we aim for a 5-year finish time. More nitrogen, smaller pieces of wood, certain species of wood etc can speed things up considerably. - We will start by preparing a 1/4 acre (1 fen) of land and dig out all the top soil available and place to the side. Fill the hole with all sizes of cut trees, approximately 600-700 tones. Normally logs under 15cm in diameter and everything smaller down to roots and leaves. We avoid using certain species such as rot resistant species or species that are in full seed and may be problematic for weeds in the future. We also avoid weed trimmings etc also to avoid seeds in the compost that can lay dormant. The trees are cut rough, there will be many air pockets and spaces when piled in, so we do not crush them down too compact and just want to make them flat. Normally a layer about 2 meters thick is piles with the excavator and the top soil is sprinkled on top whilst using the excavator bucket to shake the soil down a bit. - When available, adding a high nitrogen source is added on the top of the wood layer such as 200 tons of cow manure wet weight or 150 tons dried rice hulls etc. If using a higher nitrogen containing plant material, try to layer in the middle of the wood as well if logistically feasible. Spent mushroom and animal manure are ideal as they have higher nitrogen than most plant sources. - We then cover the entire pile with the original topsoil that was put aside earlier. We aim for roughly 30cm and tap it down in order to let some of the loose soil to shake down into the wood a little. Followed by pushing any remaining large pieces of wood down and covering again with a fairly consistent 30-50cm layer of top soil. - In order to maintain good moisture content, we want to protect the top soil layer by covering with 30+cm of rice hulls which will act to suppress weeds and keep moisture locked in while also composting and leaching enzymes and some nitrogen down into the wood as it decomposes. - Normally we will keep a short term crop on top for additional protection from sun, but also to make it financially sustainable while waiting for the compost to do its thing. Bananas, pigeon peas and roselle are crops we use. - After 2 years we will dig a few test holes to judge how well it has been decomposing. If things are looking pretty good, 5cm diameter sticks are getting well rotten on the outside and a cm or more into the wood, we will turn the entire field with an excavator. this mixes everything together. Still hard wood, rotten wood, rice hulls, the cover crops, all the fungus, bacteria and animals living in the pile will be more evenly dispersed. The pile will then be covered with another layer of rice hulls, a cover crop and we will dig test holes on year 4 to judge when it can be used. If it has not decomposed enough we will test every year, and turn the field every 2 years depending on the test inspection results. - We will use this 1/4 acre (1 fen) of compost to prepare about 1 acre (4 fen) of new fields in the first till. | |
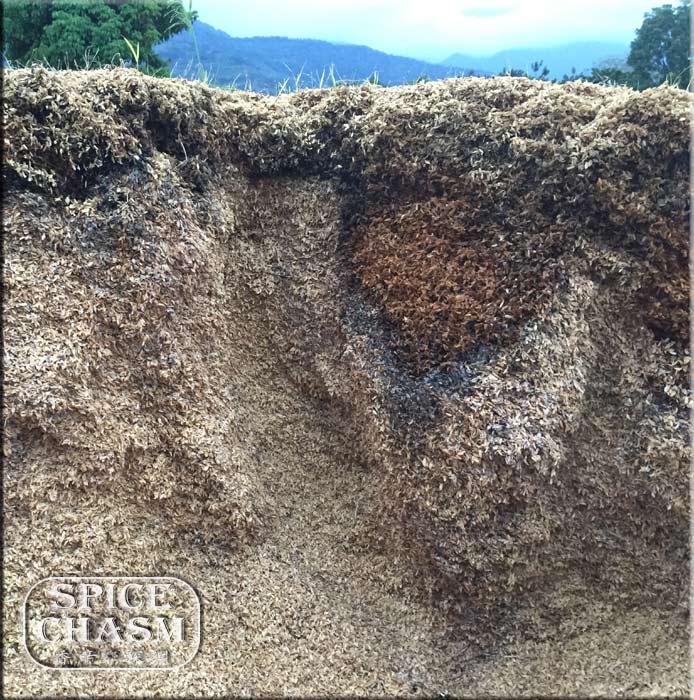 Pure rice hulls in differnt stages of decomposing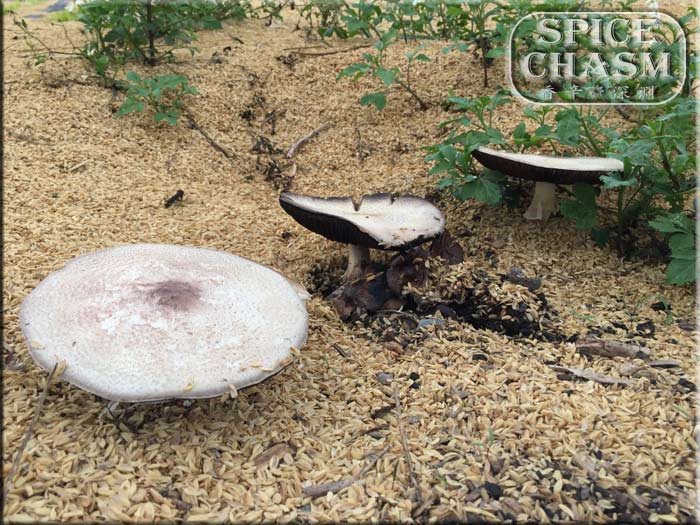 Fungi fruiting on the decomposing wood chips under the rice hulls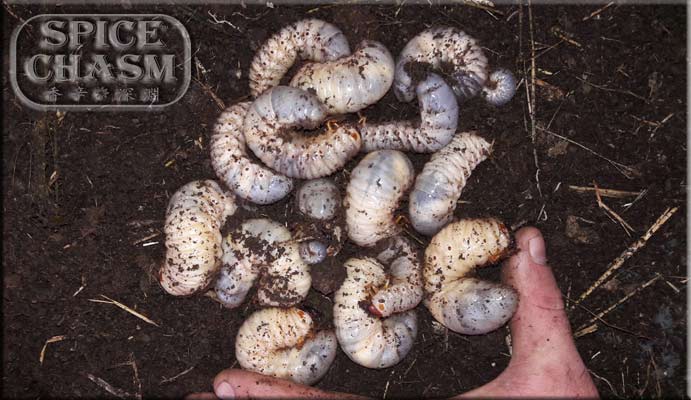 Oryctes rhinoceros larvae used for final stage in compost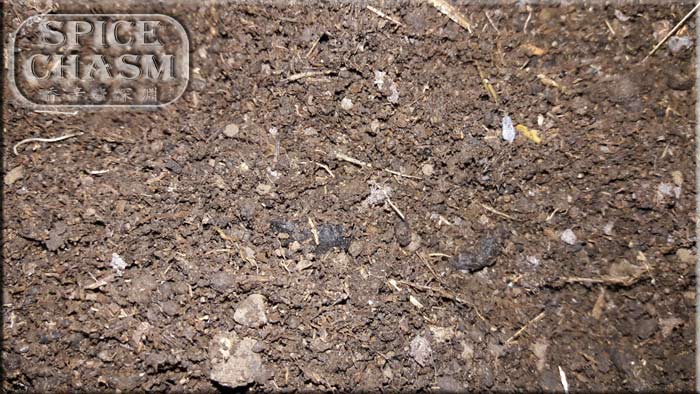 Finished compost for in production fields |
2. Finished Compost for ProductionOur finishing compost is used more as a top layer between crops and as a fertilizer for crops in production. we may add it to rows as a top layer or use if for compost teas to pump into our irrigation system. Our finished compost uses finer plant wastes such as leaf litter, small wood chips and rice hulls mostly, this gives is a faster turnaround a nice nitrogen level for our leafy herbs and other annual crops. - Depending on the land size available, we aim for rows 2m wide by 1.5m high and as long as the land permits up to 20m. - We start by clearing a section of land flat and compact the soil to make later shoveling easier. We aim for a spot in the farm that is partially shaded and wont flood. Ditches are dug along the ends of the compost rows if flooding is a worry in that spot. - We first lay down our thickest layer of the bulk of our compost, chips, rice hulls etc. Depending on our main feed stock for the compost the layer sizes may vary in size. We go thinner for wood, thicker for leaf and rice hulls due to their thickness and times required to decompose. The bottom layer would be 30cm of rice hulls, about half if wood chips. - We prefer cow manure and we layer it on top of the rice loosely. trying to just cover the entire row with a few cm of manure. All the manure we get are from farms that decompose their manure in bacteria for a couple weeks. It is usually wet and not fully dried when we add it. Manure in this stage requires composting before use due to bacteria, so cannot be used on crops directly. Any manure used directly in crops should be fully composted and/or heat treated. - Layers of 20-30 cm of rice hulls and a few cm of manure are stacked until the desired height is achieved. - Due to the great airflow in the plant material, these piles dry fast, we cover such piles in black agriculture fabric to avoid excessive evaporation and avoiding needing to waste water to hydrate the rows. - The rows will heat up and get quite hot. Once the rows cool significantly we turn the rows to mix everything together and let to sit longer. This will allow the bacteria one more explosion of growth, heating the rows once more. - Following the second heat wave, the rows will cool once more. at this time fungus will grow exponentially and start replacing the dominating bacterial biota in the rows. At this time, we introduce animal species if adequate ones are not already onsite in decent numbers. | |